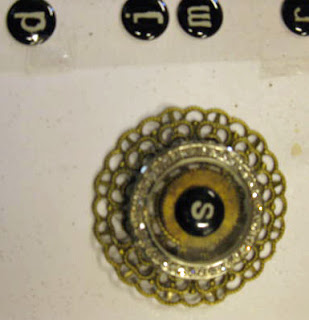
Hello friends! This is my first post as a member of Hobby Baby Design Team. I'm so excited to be part of this team and have an opportunity to work with these amazing products! The Globes are so much fun to work with and they can be used in altered art projects as well as framed projects. The NEW chipboard gears were the perfect size for the head trinket. I heat embossed the gears with Micro Copper Powder. Globecraft Memories is generously offering 25% off your entire purchase! Use coupon code TS25.
I started with a cardboard birdhouse.
Use the Oval Frame as a template and cut an oval in the front of the house.
Paint the house, base and the head with black acrylic paint.
Paint the spigot knob and roof with copper acrylic paint. Let dry.
Heat emboss random areas of the knob using copper powder.
Heat emboss the chipboard gears.
Ink chipboard frame and stamp script.
Using Crop-a-dile, punch holes in the center and insert a battery operated tea light.
Glue the tea light in place.
Glue metal gears and chipboard gears to head trinket. Glue over the tea light. Glue the Globe over the head trinket.
Using Glastique, adhere a beaded chain around the outer edge of the globe.
Add corsage pins, charms and chain to the base.
Insert the spigot knob in the base of the house.
Using glue for metal, adhere clock parts and gadgets to the house.
Make Steampunk words for the roof.
Glue into place on the roof
I painted coffee stir stick with black and copper acrylic paint. I added silver rings to the stirs and glues them to the house. Black on the roof and copper on the house.
Glue sticks to the roof and house using a Quick Dry Adhesive.
Hope you have enjoyed my "Living In A Bubble: Steampunk Style" Project. If you have any questions, please feel free to contact me.


.jpg)


