HomeShoppePublications and ResumeDisclosure

 
Showing posts with label Donna Salazar Designs. Show all posts

Thursday, December 15, 2011

Anything Goes Challenge: Really Reasonable Ribbon and Guest Designer for Donna Salazar Designs

Are ya up to a fun challenge?  It's Anything Goes over at Really Reasonable Ribbon Ramblings blog!  I decided to make a "Countdown to Christmas Album" and have used one of my favorite Baker's Twine, Cherry!  The papers are by Simple Stories.  We'd love to have you join in on this fun challenge!!

GUEST DESIGNER FOR DONNA SALAZAR DESIGNS
  I'm one lucky "Grungie Girl" today because I get to be her Guest Designer for Donna Salazar Designs! I got to work with her "Antiquities" Line and there is so much Grungy goodness packed inside these paper packs.  On my "Grungie Girl" Dress Form and Hi-Top Sneakers,  I've used the 12"x12" Antiquities Paper Pad, Green Smooch Spritz, Mixed Media Inx (Peridot), Fairy Dust Glitter and Emboss Gloss.   Ribbon Adhesive and Hot Glue Gun and Glue Sticks by Glue Arts.  Ribbons are Really Reasonable Ribbon.
 Hi-Top Sneakers
Here's how I started:

Hi-Tops


Saturday, May 14, 2011

Clearsnap and Donna Salazar Album

CLICK HERE FOR BLOG CANDY LINK
Hello friends!  I’m in love with the new Donna Salazar Antiquities line!  Each one  of the papers are gorgeous and are full of shabby goodness!  I’m so happy to be a Guest Designer for Donna for 2011-2012.  I dressed up my grungy little Gate Fold Album with Silver Fox Smooch and Colorbox Fluid Chalk inkpads.  The Chestnut Roan and Amber Clay inkpads are a great combination with my album. 
album front
Wanna make your own?  Here’s how!
This is similar to the Gate Fold Album I recently posted a tutorial for but I have not completely covered the front and back covers. I wanted to leave my corrugated cardboard exposed.
Step 1- Using corrugated cardboard, Cut (2) 3.50" x 5.00" and (1) 5.00" x 7.00"
step 1
Step 2-Distress and ink edges using the distezz-it all,  and Chestnut Roan and Amber Clay ink.

step2
Step 3- Cut the spines and inner pages
(3) 3" x 4" and (3) 4” x 5” (inner)
(2) 5” x 6” (spines)
Step 4- Score the spines  at 1,2,3,4,5” (Mine is cut with g.c.d. studios, Ashley Ella Blue Collection)
step 3
score and fold
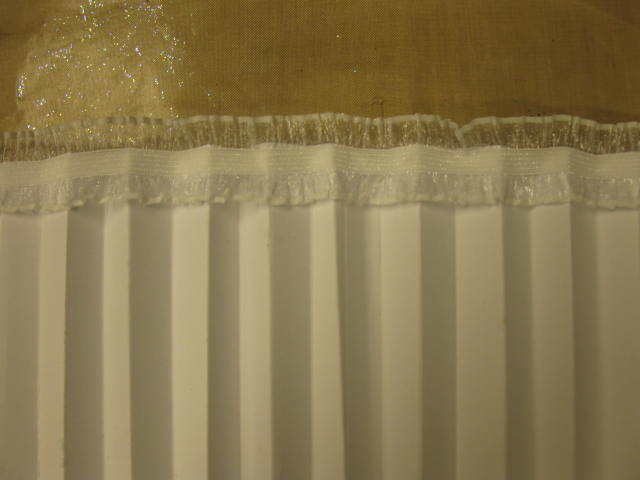
step4 Step 5- Fold and use Zip Dry adhesive in the valley sections that will face the outside. (the fold used on the spine is called peak and valley)
Step 6- Adhere the spines to the 5.00" x 7.00" corrugated cardboard.

adhere to spine
Step 7-Clip covers to spines and let dry.
clip covers to spines
Step 8- Decorate the cover  as desired.  I’ve added some sewing and a piece I cut off another sheet of designer paper.
Step 9- Use Zip Dry to adhere the inner pages.  I’ve added some Smooch to some of my pages.
step 10
smooch